Photograph your plate → mark residue → get a cleanser 3MF
Photograph your plate → mark residue → get a cleanser 3MF
Four simple steps to a clean build plate.
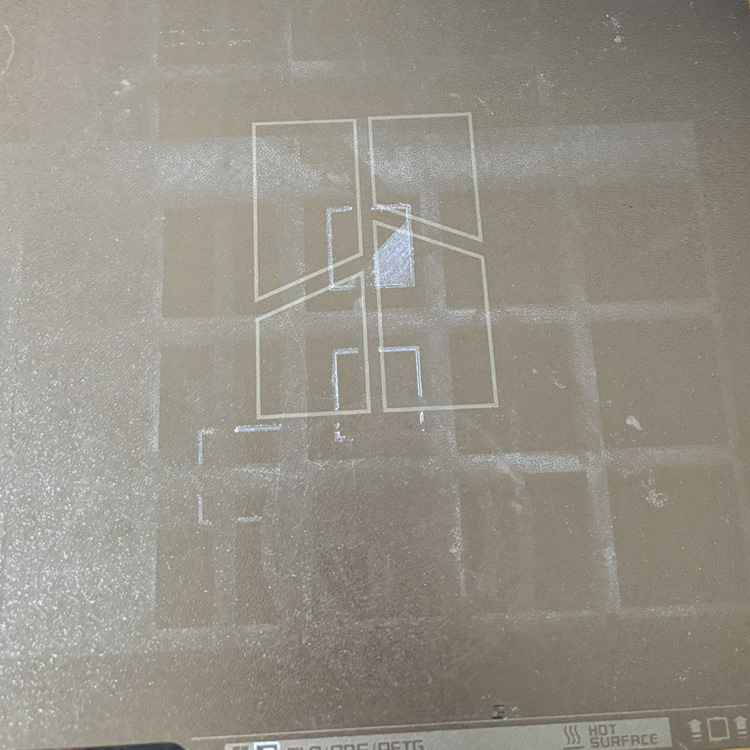
Place your build plate on a flat, well-lit surface and shoot straight down so all four corners are clearly visible. A phone camera works perfectly — just make sure the plate fills most of the frame.
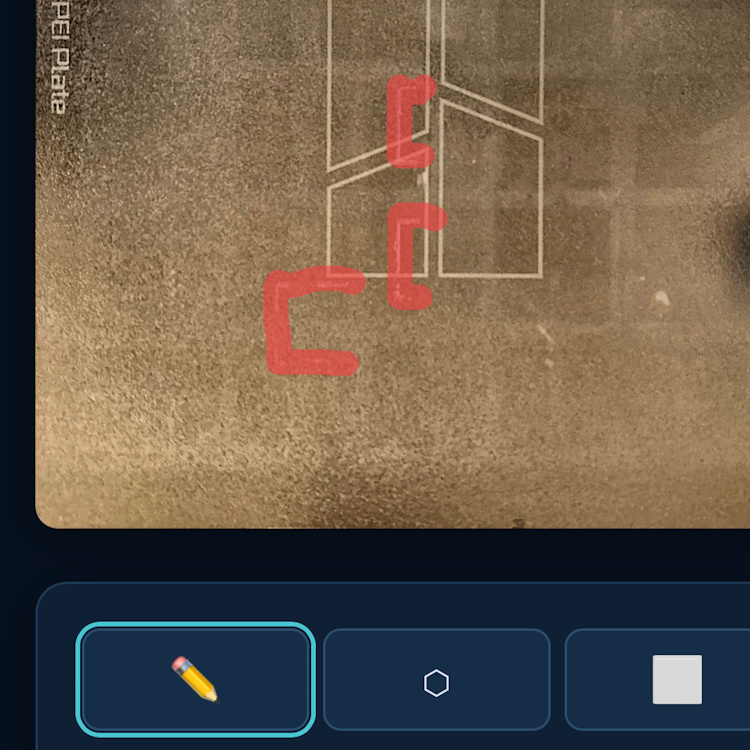
Upload the photo and confirm the four plate corners. Then switch to the painting step: use the brush to paint freehand over dirty spots, or the polygon tool to draw precise outlines around the residue. A 2 mm safety margin is added automatically.

Click Generate 3MF and open the downloaded file in your slicer. Remove the reference frame object, then print directly onto the dirty plate. Use a 0.2 mm layer height and raise bed & nozzle temperature by ~10 °C for better adhesion to the residue.
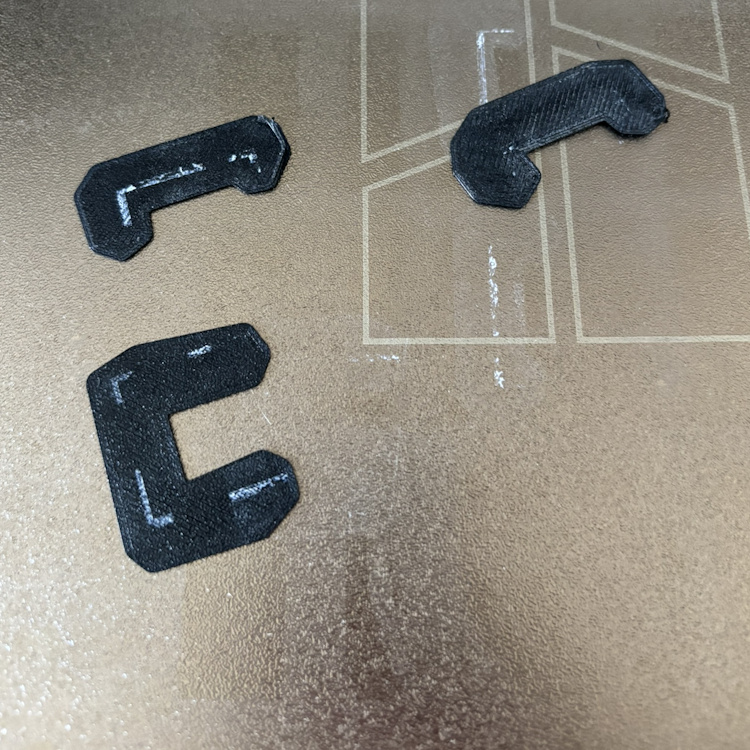
Let the plate cool completely. The cleanser objects bond to the residue as they print, so peeling them off takes the residue with them. If any spots remain, simply repeat the process.